
I have been having issues with my mount balancing and tracking celestial objects. I am working on doing electronically assisted astronomy (EAA) and while I don’t need the precision and long term tracking that people doing astrophotography require, I do want to get a reliable series of exposures and maybe practice some AP before I decide to invest in a better mount. At the very least, I use a program called Sharpcap to run a series of shots while I sleep so I can see what I caught the next day and having reliable tracking is important.
The video below shows the problem in RA. When the OTA is rotated towards me, it stays. The mount is very out of balance so it shouldn’t stay like that. When I rotate the OTA to the other side, you see that if falls. The stickiness not only makes balancing difficult, it also makes the motors work harder to track and induces slowness–the mount can’t track reliably.
The goal of hypertuning is to have a well balanced mount that moves easily when you want it to move. The CGEM-II is on the low end of Celestron’s EQ line and they didn’t pay for tight quality control so it needs some work to be optimal.
Hypertuning is a product and process to make mount movement better. Basically you tear the mount down, clean up the grease, sand and polish metal bearings (not the ball bearing kind), regrease and reassemble. Ed, the maker of the Hypertune product, walks you through setting the proper distance for the worm gears and includes teflon bearings for the shafts and ceramic bearings for the worm gear.
The kit I bought also has 3 downloads. One is a series of files about the mount. The other two are 3 hours of SD video of Ed doing a hypertune on a CGEM with commentary. It’s a helpful video, but its shot in SD format. It’s 2022 and should be reshot in HD, at least, so that some of the steps would be visually clearer.
I suppose I spent about 16 hours over several days on the whole process. I’m slow. If I were to do it again (and I had to, more to come), it would be much, much quicker. Here are some tips that I learned along that way that might be helpful.
Tips
Watch the video end to end, then when you are taking apart the mount, watch it and pause. There’s lots of little detail things that Ed brings up worth noting.
I ended up securing the mount to my tripod and lowering the legs so the mount was waist high. I needed it to be steady during disassembly. Worked fine. Just watch for falling parts.
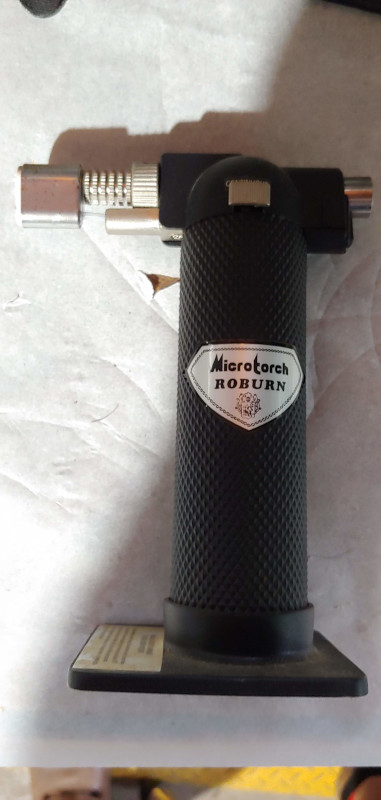
At the 1st step removing the DEC retaining ring, I had to heat up the set screws because they were stuck with lock tite. A kitchen torch for about 10 seconds or so (I did little shots at a time) did the trick. I bet a soldering iron held against the screw would work as well.
I happened to have this handy set of pliers that I have used for years. The very long skinny ones worked great for getting the DEC retaining ring off.

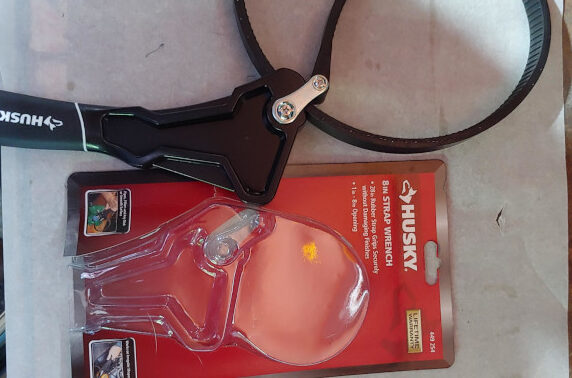
I coudnt’ get the DEC axis off with my channel locks (btw, you need 12in channel locks to fit around the ring.) So I got this strap wrench thinking it would come in handy. It did. Took the retaining nut right off.
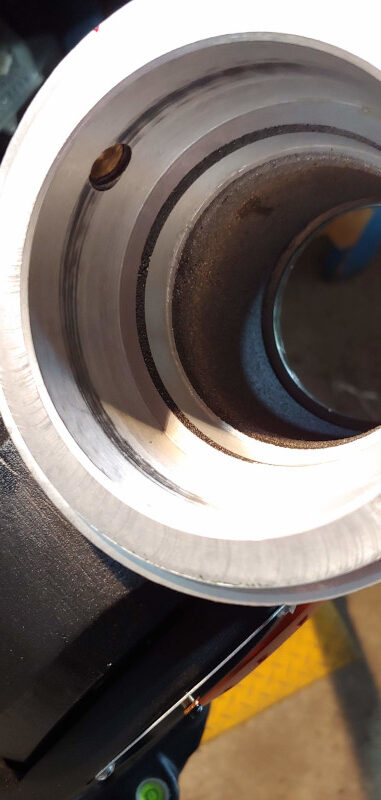
The dec axis is a bit of a ness. I will sand and polish the housing and get that paint off (the dark black strip mid-way into the housing.) That is likely what is causing the mount to stick and not balance.
Neither worm gears spun freely or loosely. It likely contributed to balancing issues and to tracking issues. Once I released the locking nuts, they both spun better.
Wrap up
Disassembly went easy enough. The only spot I had trouble with was with the DEC bearing removal. It got wedged and was a bear to get loose. Trying to tap the housing with a mallet while holding the DEC axis and remove it was very frustrating, but it finally came loose. Just have to work it is slowly. Pause, and take a breath.
I didn’t have any issue with locked up screws other than the first set screw. Phew. When you get to removing the worm gear, I used Ed’s tool and a screw driver through the hole to give me a bit more leverage. I was paying attention to any rising and slippage while unscrewing the retaining ring. I had none, but if I felt I was going to slip, I would have stopped and applied heat.