
Following the dissassembly of my mount, the cleaning and reassembly went surprisingly smoothly. I spent most of my time sanding and polishing the ring bearings and the mount where they mated.
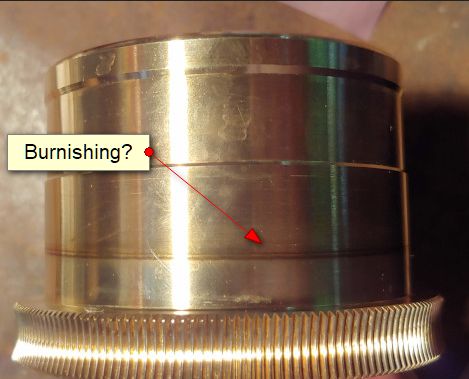 You can see from this image of the cleaned up bearing that there was some rubbing on the bearing which was probably causing some of the stickiness. I thought it might have been from the clutch, but if that slips, it’s just a little bit from handling the mount. That mark went around the entire ring. There was marking inside the mound barrel as well.
I started with around 600 grit on the brass bearing and folded over the paper. I snugged that up against the base of the gear and gently but firmly twisted the gear as I went up in grit eventually to 1200. Then I used the polish. I had to do to two passes on the RA axis. I didn’t sand enough the first time and when I went to dry fit it, it wedged. Following Ed’s advice, I didn’t push at all and was able to pop it right out. After about 15 more minutes sanding and polishing, I could slide it in and out dry. This is the result.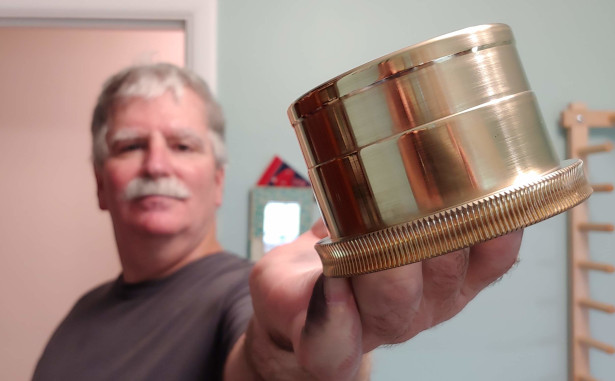
I did the same thing for the DEC ring gear and bearing. While the DEC axis isn’t involved in tracking, tuning it up while I am here just makes sense. It will be easier on the motors in the long run.
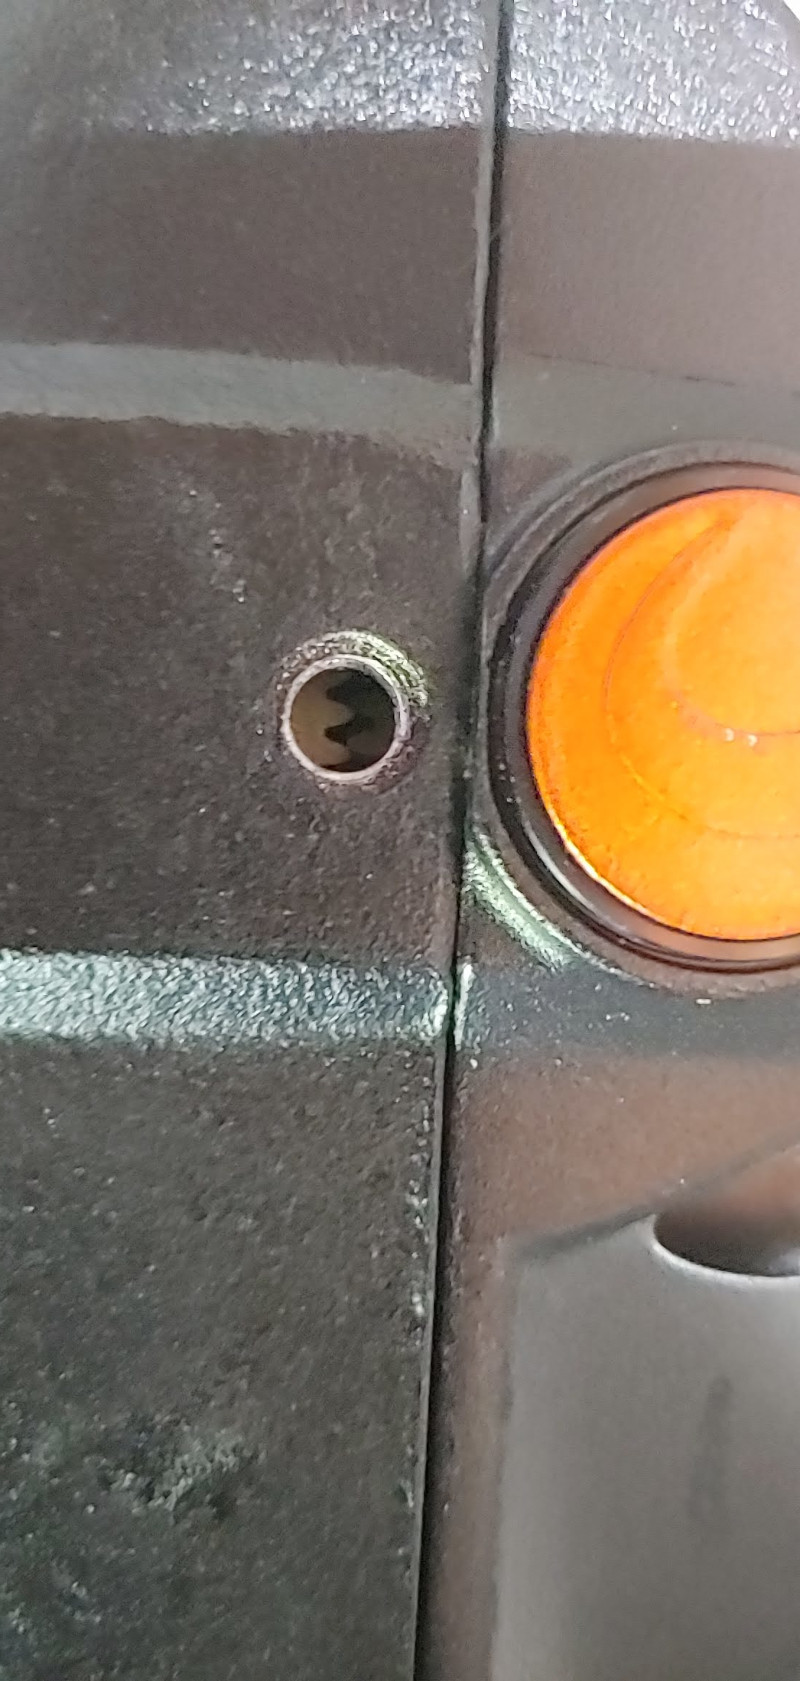 I did have to dissamble the mount to fix an issue. The spur gear that meshes with the motor gear wasn’t properly aligned (it was off by about 2mm!) and I had to go back and fix that by moving the spur gear outward. This is a close up of the gears. It’s not a great image because I had a hard time getting the right angle but visually it stood out. I don’t know if it came from the factory this way or not. Here’s how you can check.
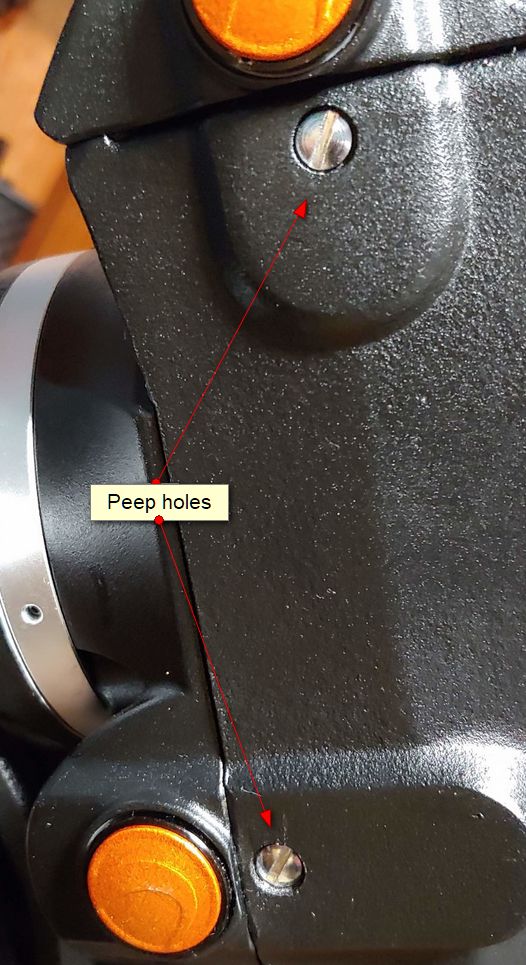 See these two metal screws on your mount? Those are peep holes for the spur to motor gear assemblies. If you remove them be careful! They are very short and its only a few turns before they come out. At the end of the assembly Ed has us check the alignment. Me? I’d do it first before I disassembled the mount and I’d measure the alignment. If all is OK, when I got to the disassembling step, I’d take a picutre and measurements so I knew where to put the gear when I put it all together. If it’s misaligned, then I’d know how far to move the gear to align it. The dissassembly and reassembly took about 15 minutes because the parts fit properly and I knew what I was doing.
The result is that the mount moves freely on the RA axis now. If the counter weight is off balance, it won’t stay in position. That’s what I want. Balance in the RA so I get better tracking. I didn’t see when using Sharpcap and doing EAA, the drift from the mount was much less and where it used to just walk into the sunset, not it was clustering around the axis. That could be due to poor polar alignment or I’m not as balanced as I think. Either way, improvement!